|

|

|
|
|
   
|

|
KINGFISHER 12 |
 |
The owner of this Kingfisher asked if I would make a few repairs and paint it. I couldn't be home when he wanted to bring it,
so I said that he could park it in the driveway and I would check it out in the morning and give him an estimate.
It rained hard in the night and the sail bag was not waterproof! I first drained 50 gallons of water from the hull and then spread
the two sets of sails out on our cement driveway to dry in the bright sunshine. They were nearly dry when another sudden
downpour
drenched them again! And the sun was still shining! That should have been warning that this was not going to be an ordinary project,
but there was a rainbow in the sky that promised better things to come!
At first glance, the hull seemed to be in fair condition, but a closer inspection showed numerous scratches and chips
in the paint. It had gotten some rough treatment!
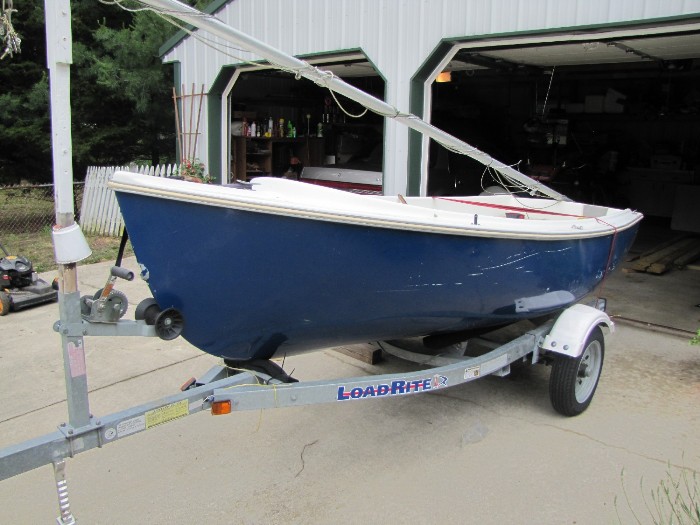
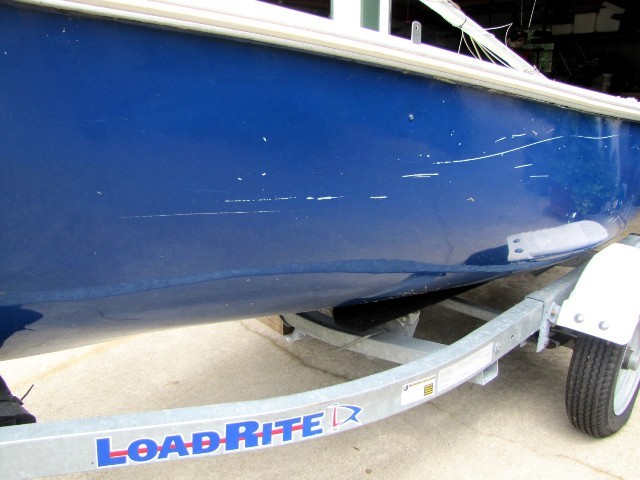
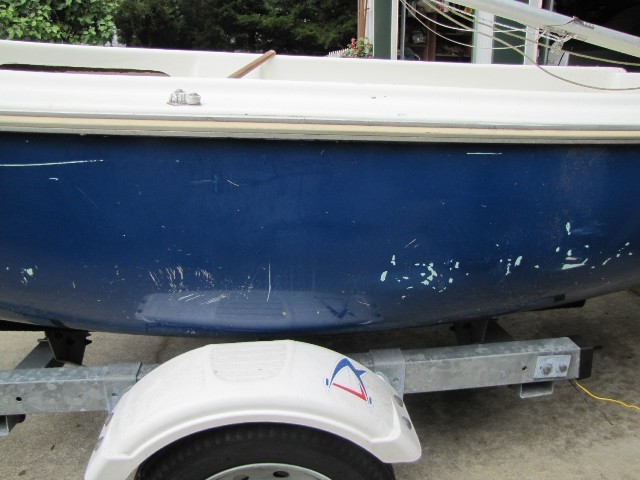
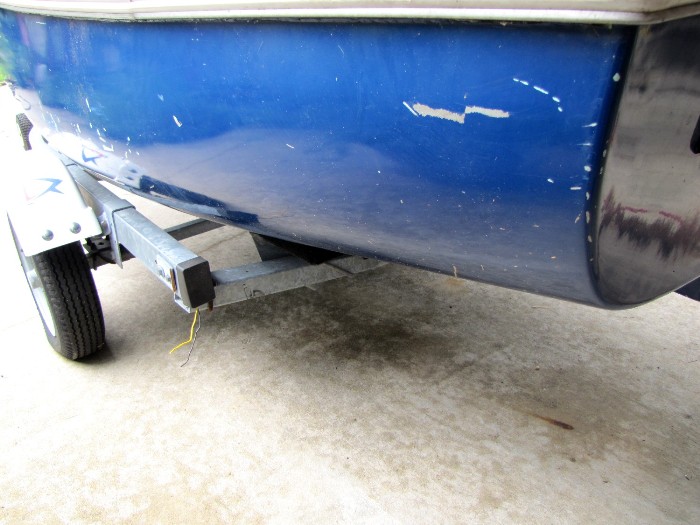
The bow hook had pulled out, was improperly re-installed and it pulled out again. The interior also had many battle scars!
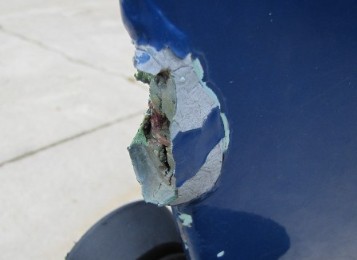
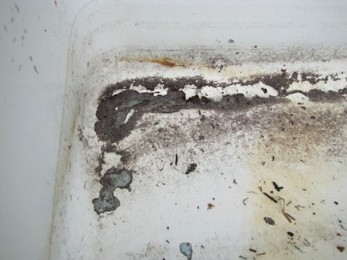
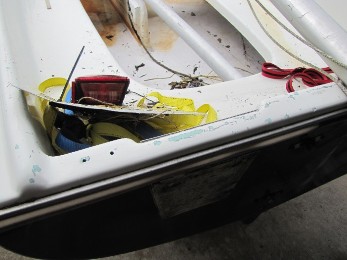
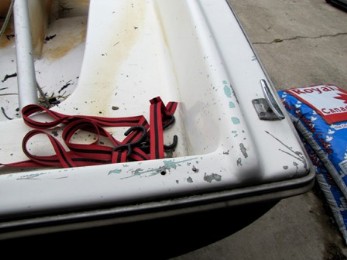
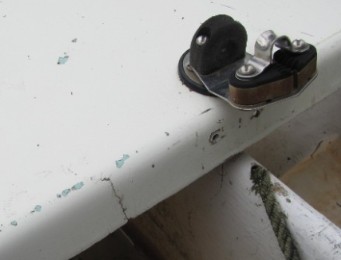
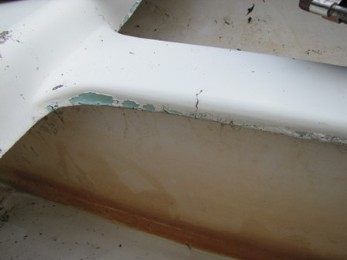
There were hairline cracks around the centerboard trunk, but fortunately, only in the inner hull.
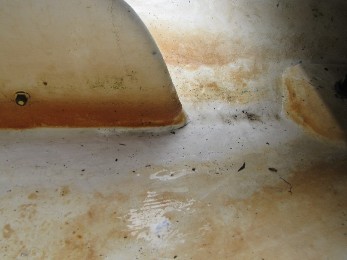
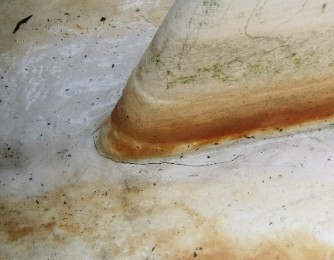
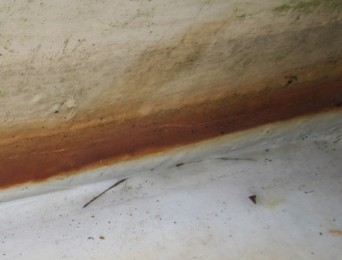
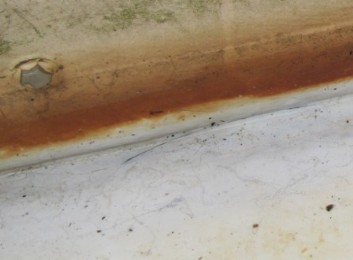
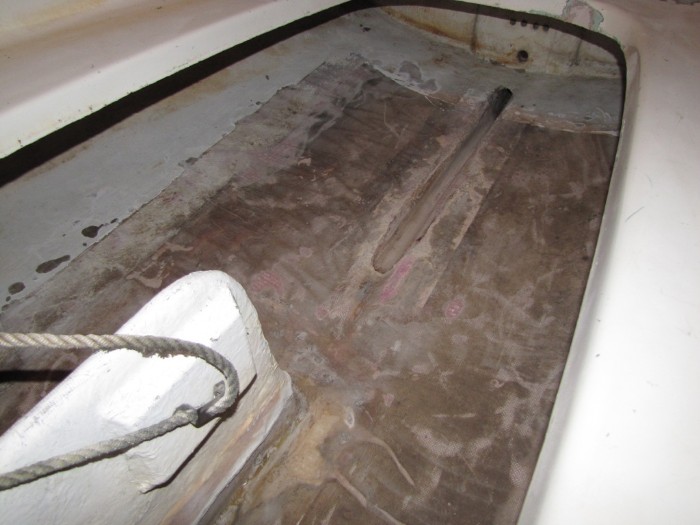
A previous owner had glassed a plywood floor onto the bottom for some reason.
Water got under the fiberglass and the plywood disintegrated.
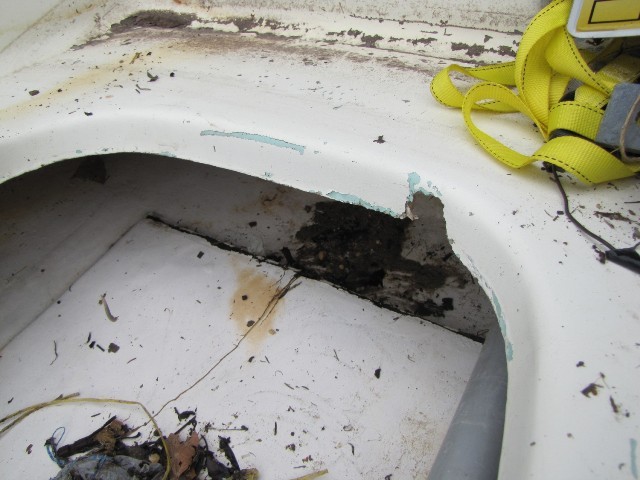
The first task was removing the false bottom.
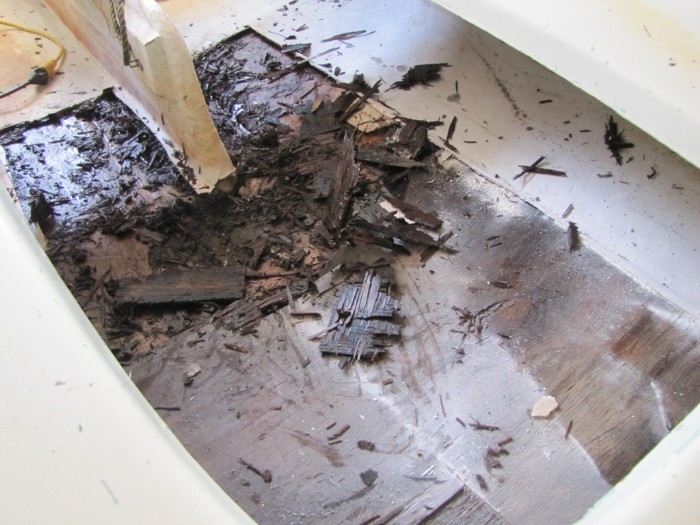
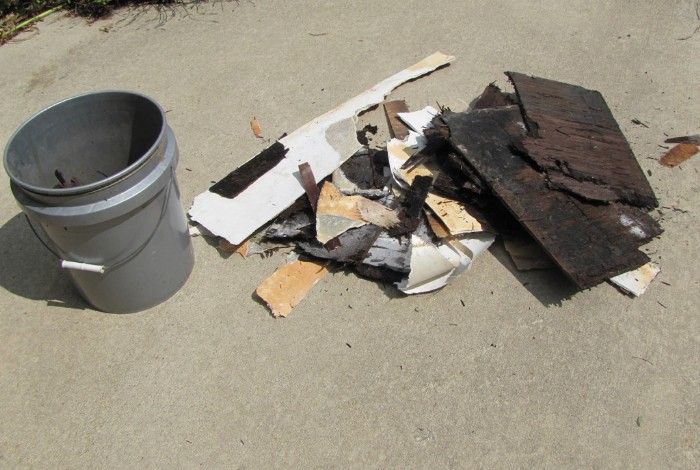
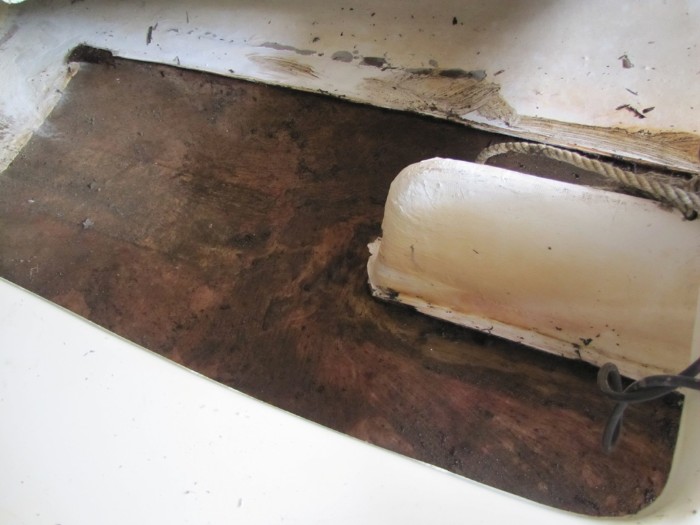
When the bottom began to dry, a new problem appeared. The rear keel was filled with flakeboard, which had also rotted.
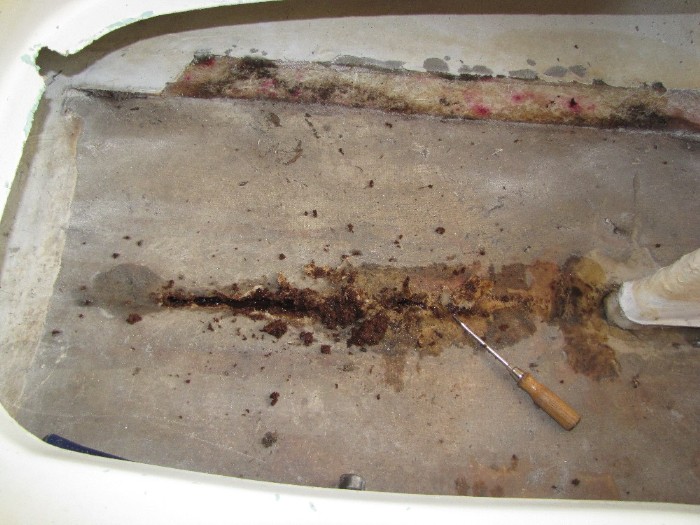
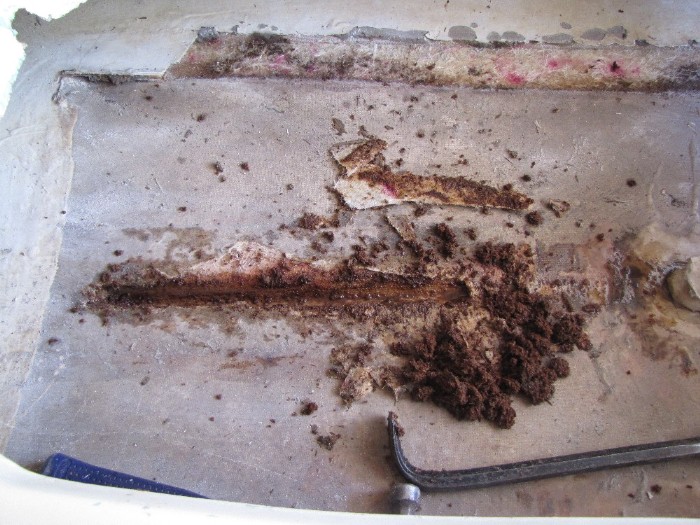
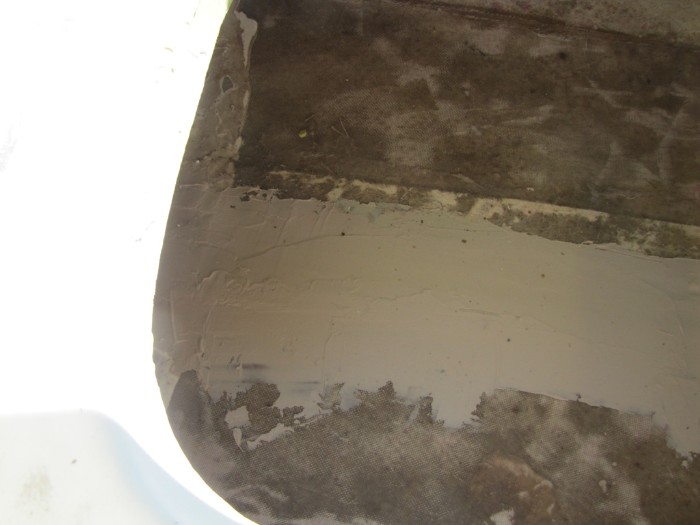
The cavity was filled with fiberglass paste.
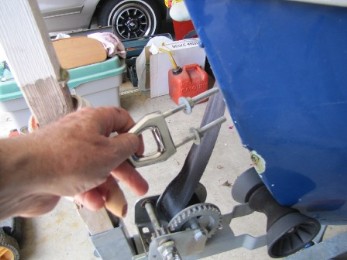
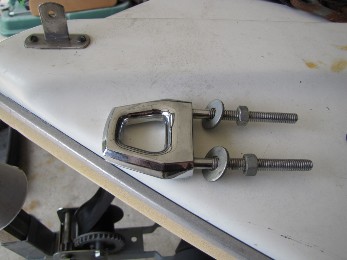
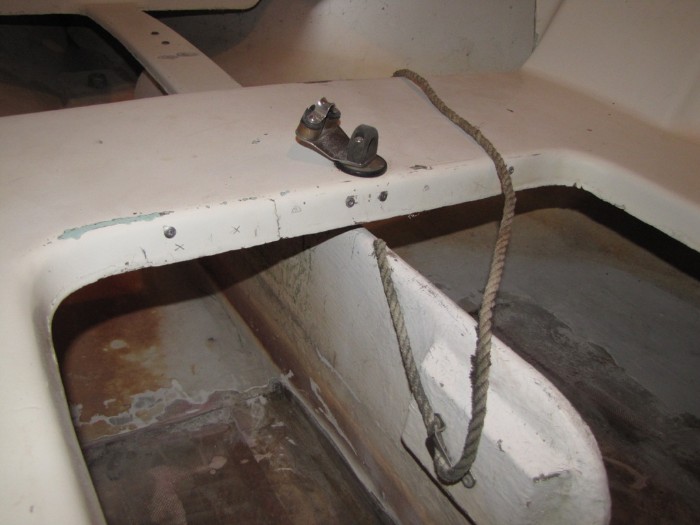
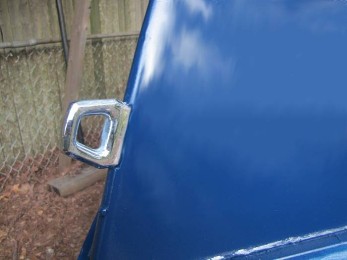
I chose a new bow hook with two bolt shafts and mounted it higher up to
allow
more room for the winch. A wedge-shaped piece of wood inside gives added strength.
Working in that cramped cavity was NOT easy in the 90+ degree weather we were
having!
Before repairing the crack in the center seat, I pop riveted a piece of "L" aluminum on the underside.
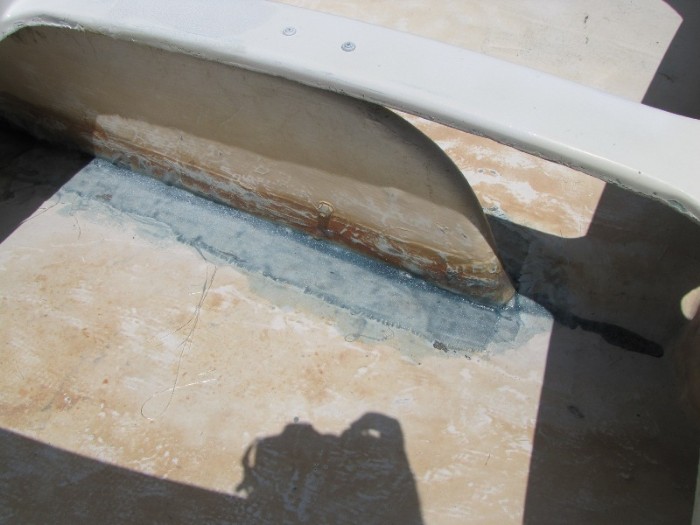
The next job was fiberglassing around the centerboard trunk
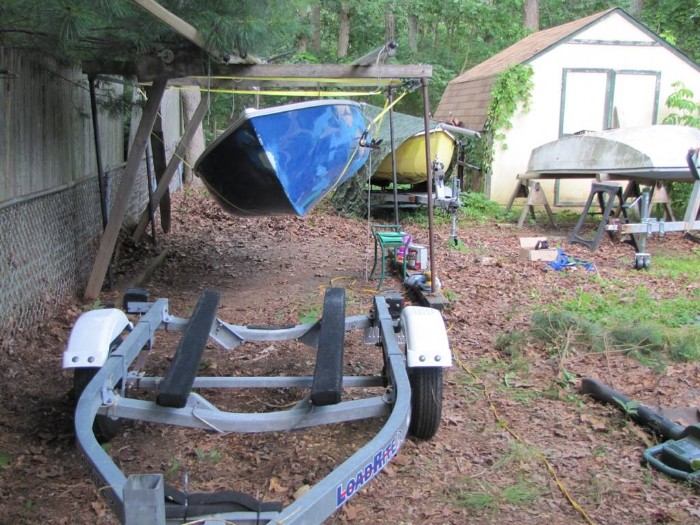
The boat was lifted off the trailer with straps and suspended in my homemade "rotisserie" for
the bottom work.
I bought that green stool for my wife to use in the garden, but I think I use it
more! You can sit on it or turn it upside down to kneel on and it folds up for
storage. Also good for working on cars!
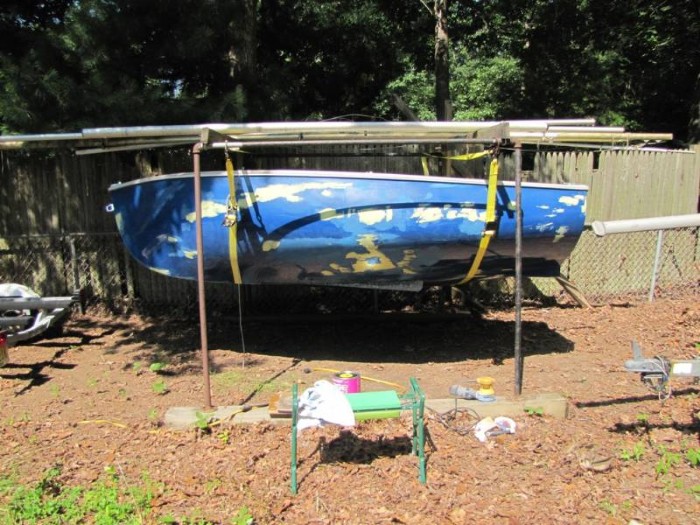
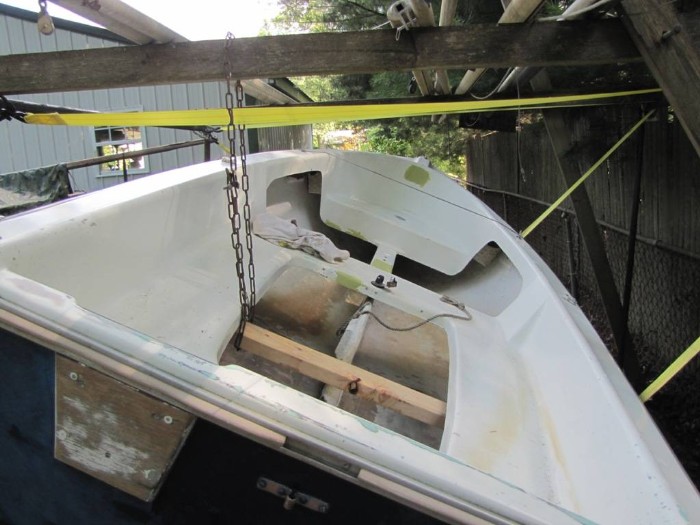
In the picture below, you can see where the bow hook used to be.
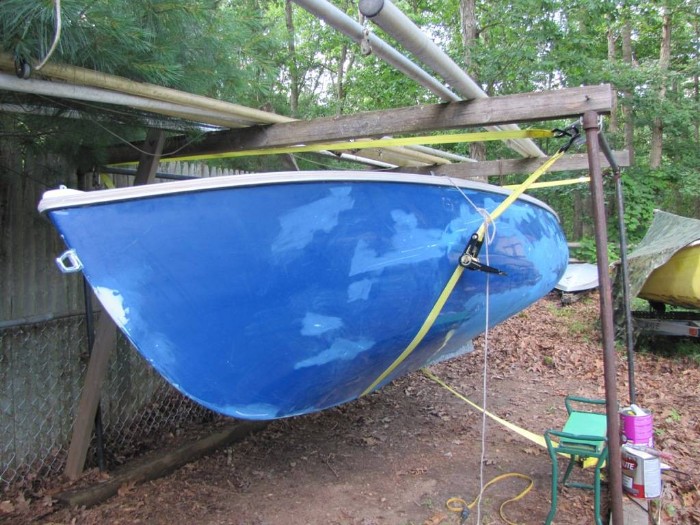
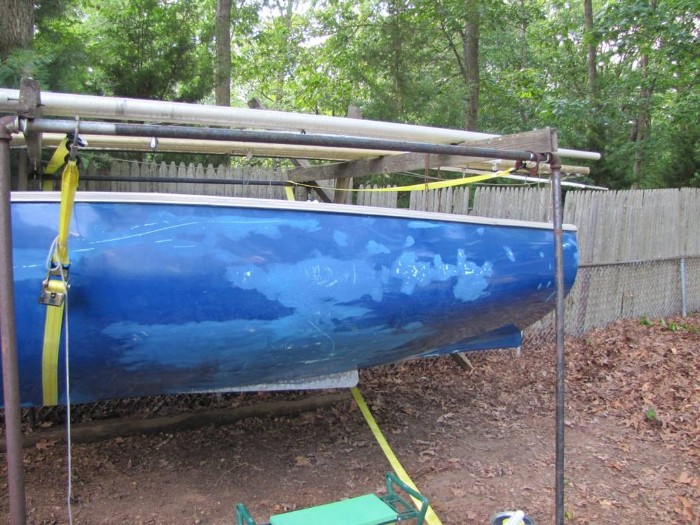
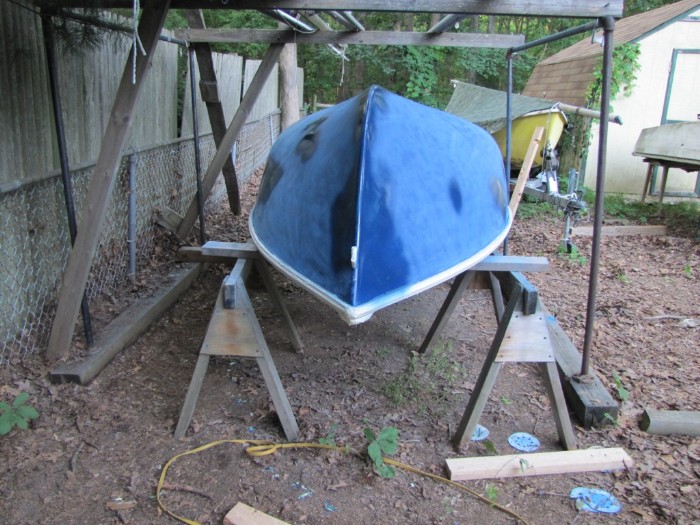
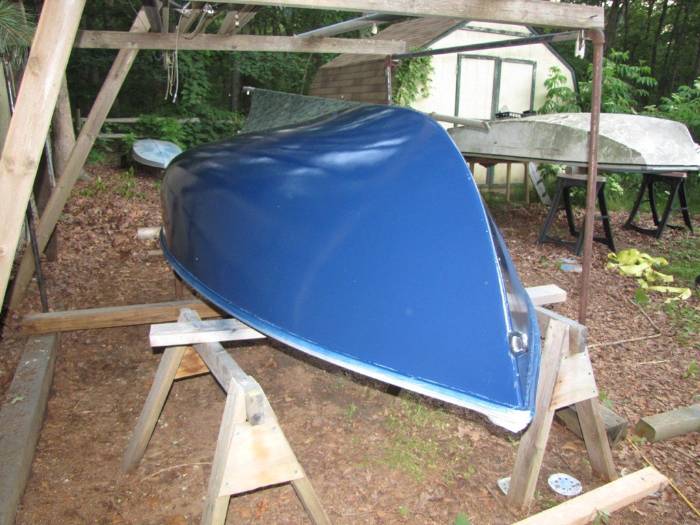
For sanding and painting, I lowered the boat onto saw horses. The entire hull
had to be sanded with 120 and then 300 sandpaper before painting. Note the used
sanding discs on the ground -- I went through many of those!
I used Interlux Brightside polyurethane paint for the outer hull, spraying the repaired
places first for better coverage.
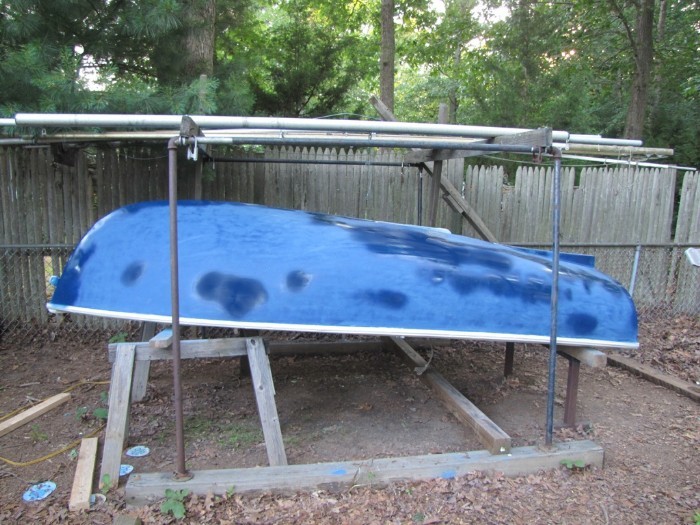
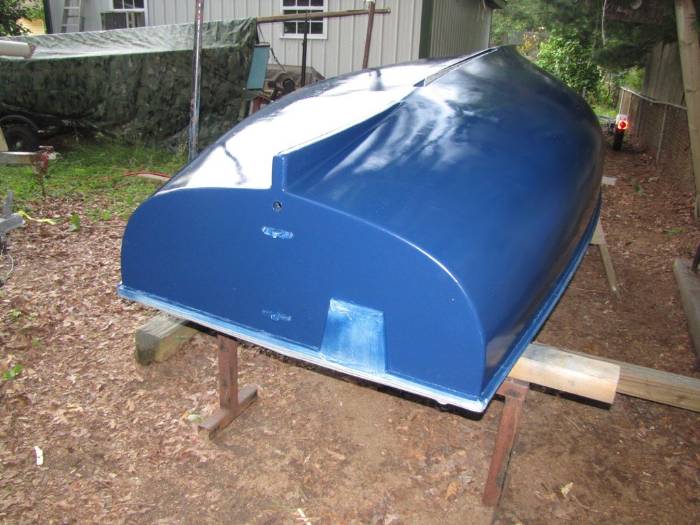
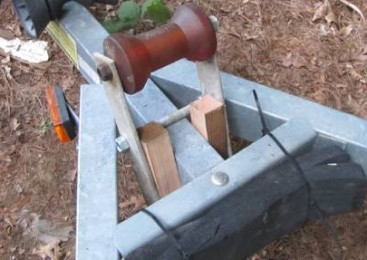
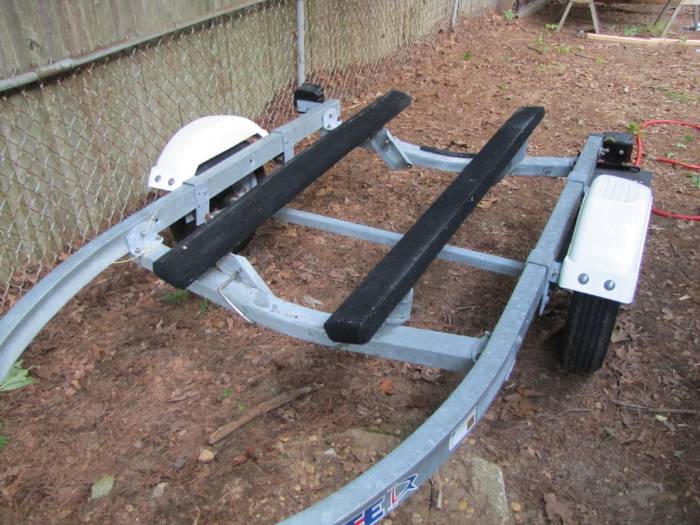
While the boat was off the trailer, I jury-rigged a bow roller for the front and
raised the bunks to allow more space between the hull and fenders.
Now it was time to paint the upper parts of the boat.
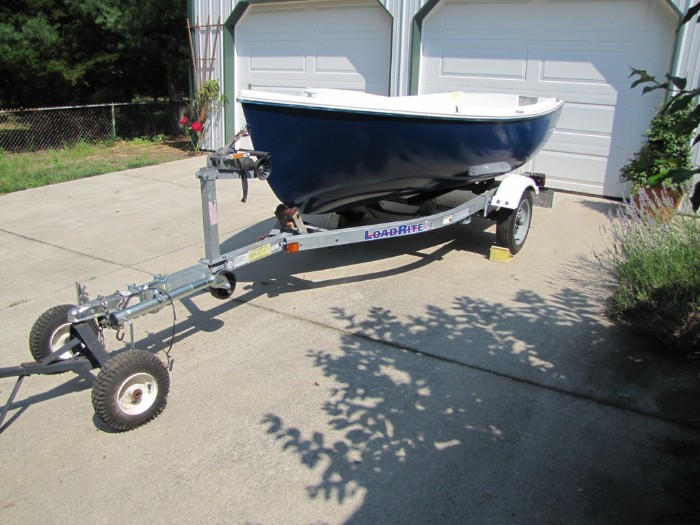
I used Interlux Brightside polyurethane paint for the upper deck.
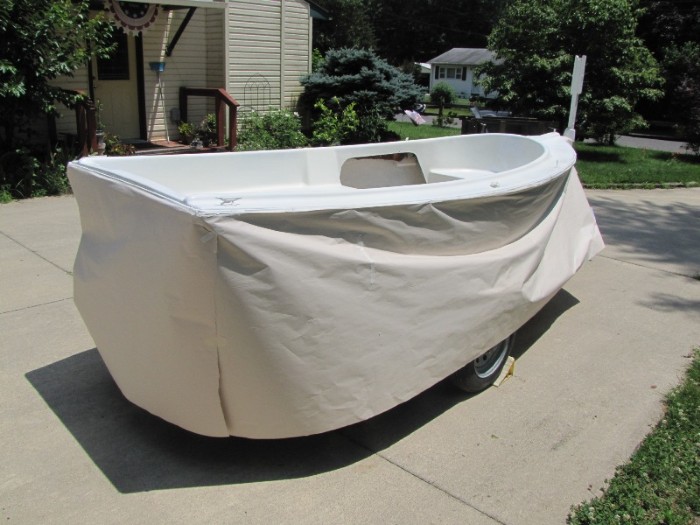
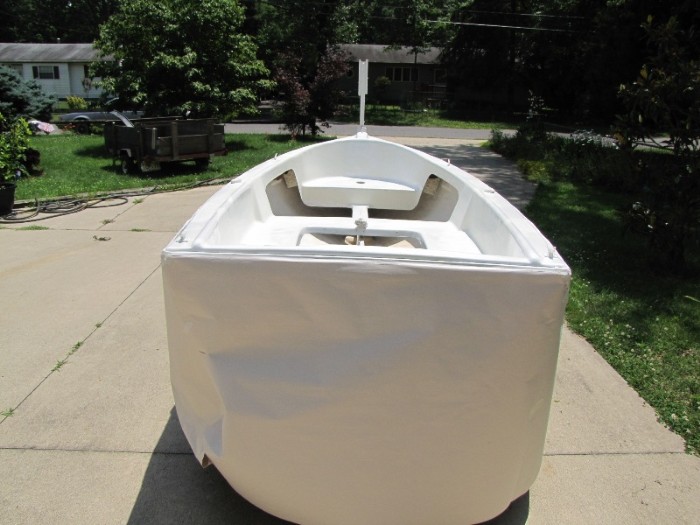
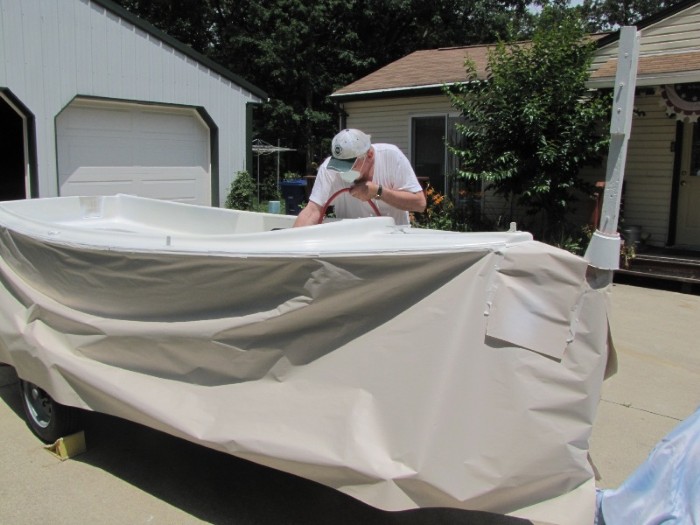
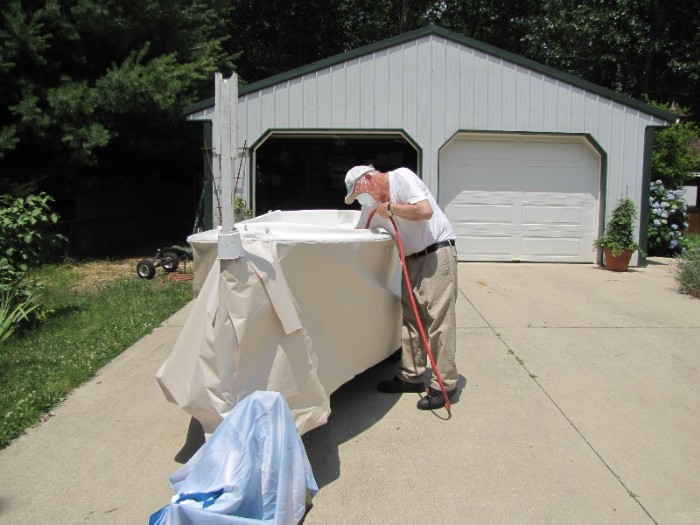
The boat was immediately moved into the garage to dry where there is less room, but few bugs!
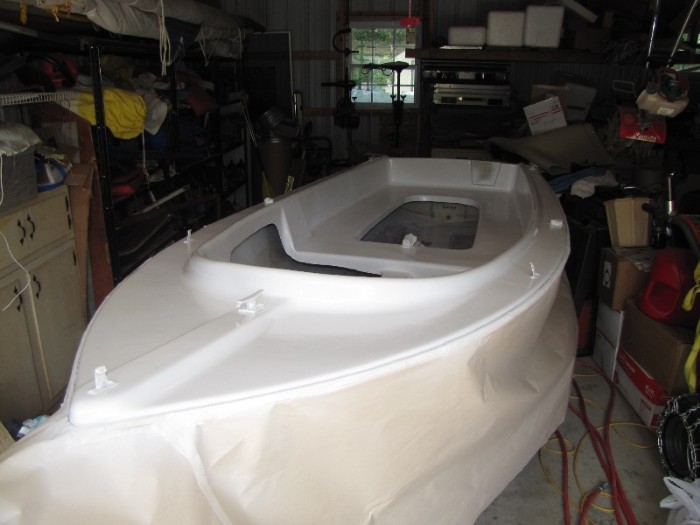
For the floor, I used flat white Rustoleum and a foam roller. Flat paint easier to touch-up.
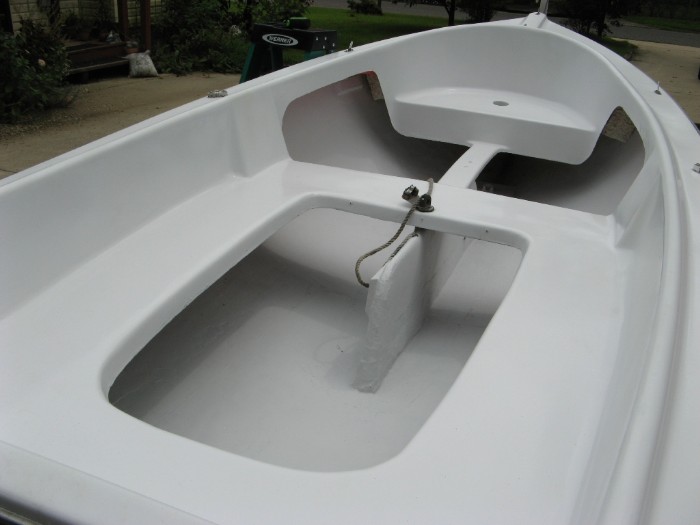
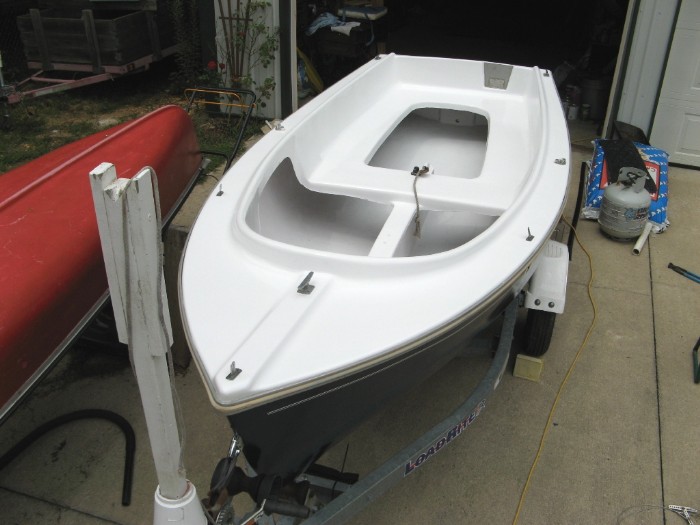
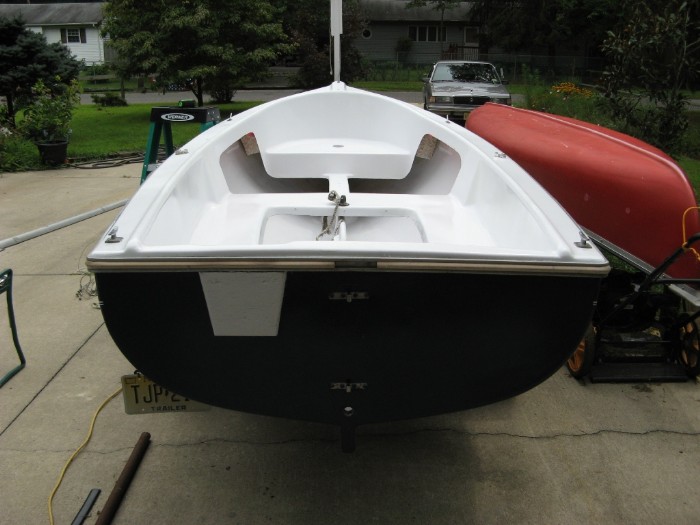
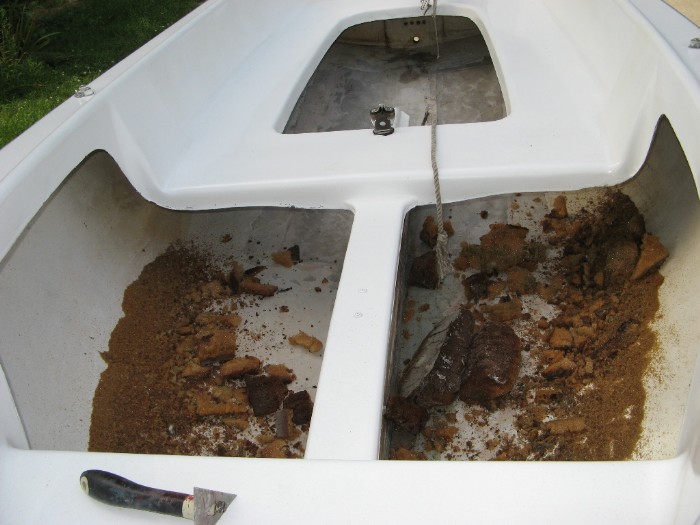
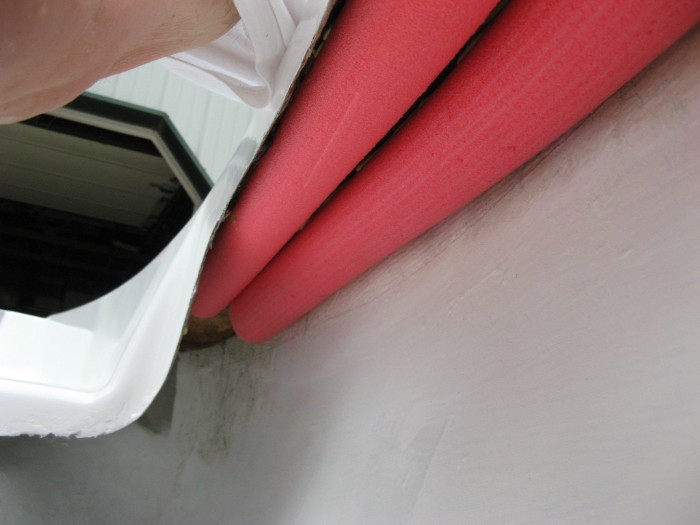
Some of the flotation had disintegrated, so I scraped it out and replaced it with foam rubber swim noodles.
I use these for many purposes: for packaging, insulating, cushioning and even as rollers for moving light
objects that you don't want to damage. I sometimes run a piece of PVC tubing through the noodles for
stiffening, or I run a rope through them for roof transport.
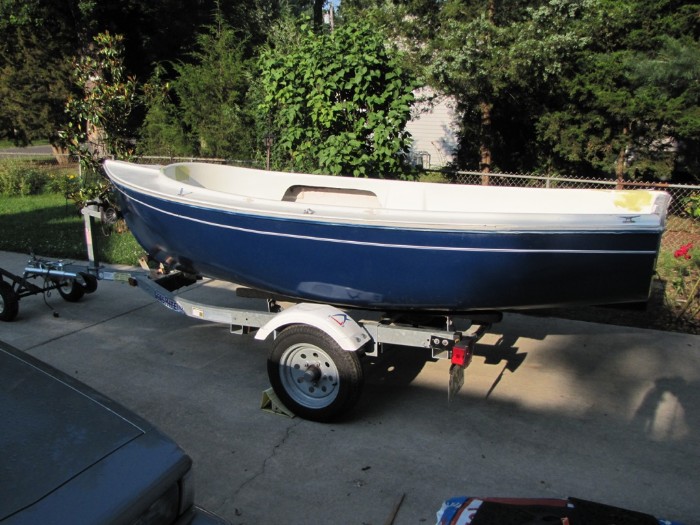
I think pinstripes add much to a boat or car. These are available in most
automotive stores.
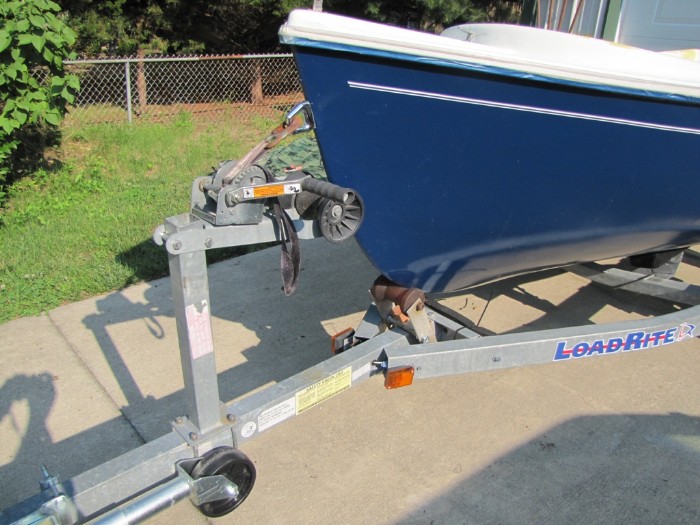
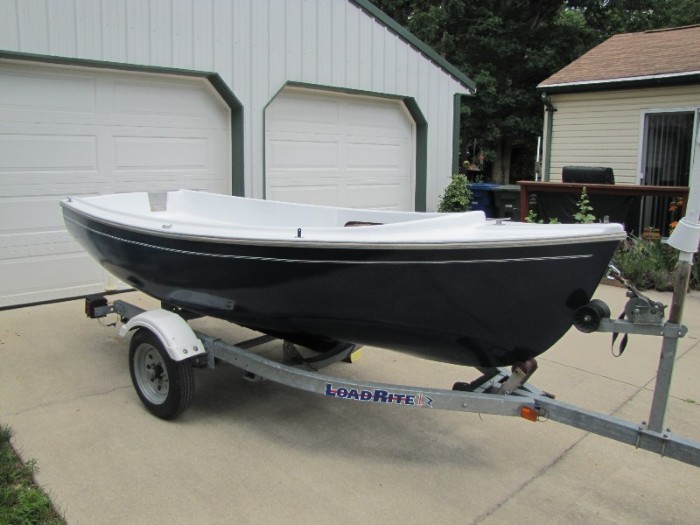
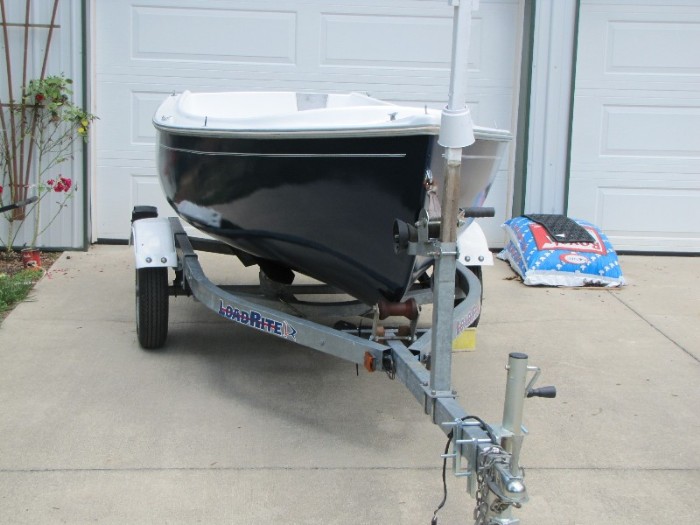
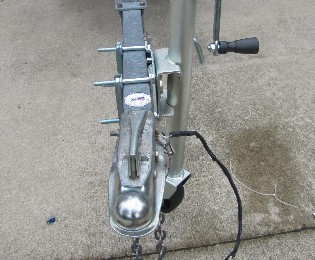
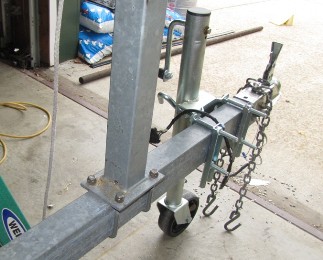
The trailer tongue had been damaged and the coupler was crooked, so I cut off
the tip and drilled new holes to straighten it out. The galvanized front mast
crutch was filled with rain water, so I drilled a drain hole in the base. One of
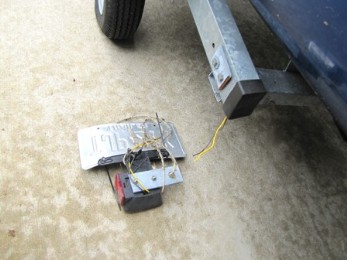
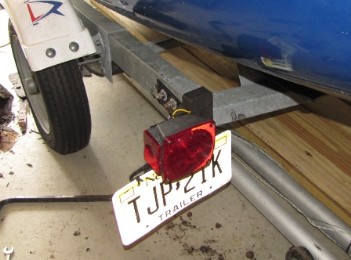
the lights had broken off and I replaced the angle iron and re-mounted the
light.
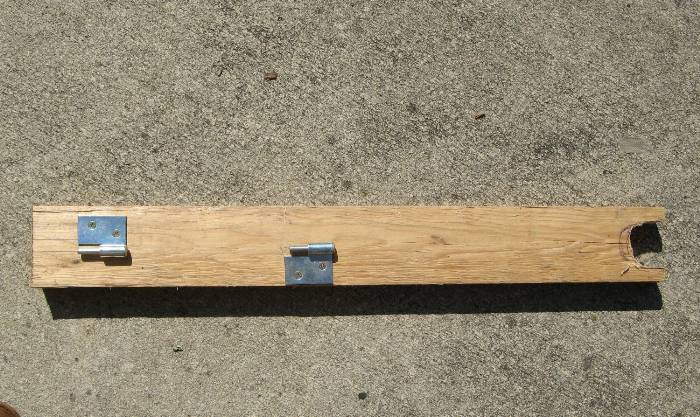
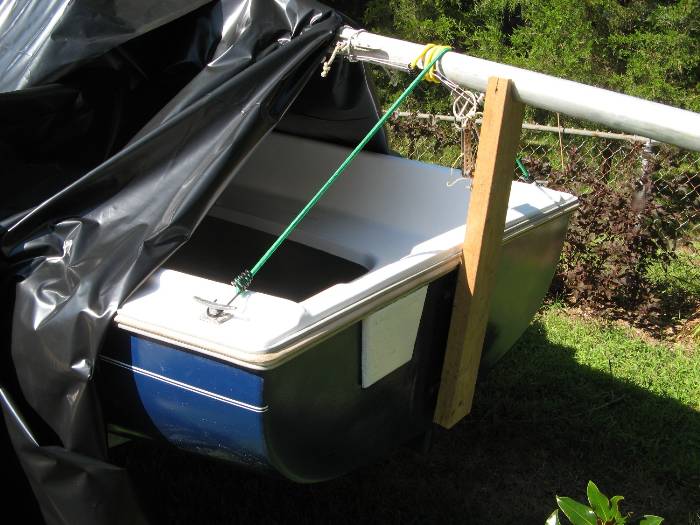
To prevent the mast from scratching the new paint, I made a quick mast crutch
for the transom. I use a piece of 2x4 and a simple galvanized gate hinge cut in half that
fit the rudder gudgeons.
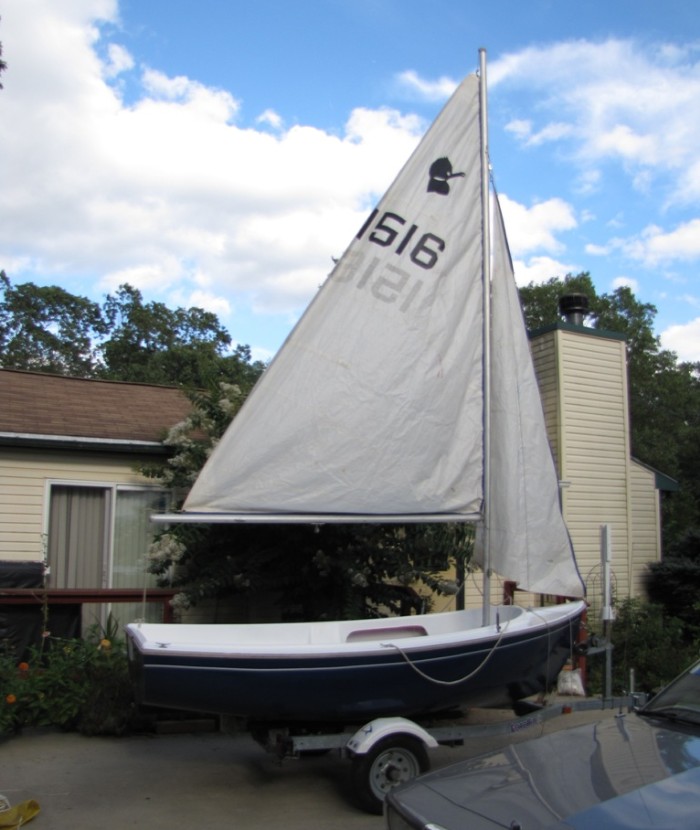
I wish the owner many years of enjoyment with his boat!
 
 
|
|
|